Basic Concepts of Photography
Most of us aren’t professional
photographers, but many of us take our amateur photography seriously. Over
time, we come to realize that there’s a lot more to taking pictures than just
pointing and shooting! In fact, a photographer who’s serious about his hobby
should learn about topics such as lighting, exposure, composition and camera
angles, to name a few.
Lighting and Exposure
Have you ever taken pictures that are so light or so dark that you can hardly make out the subjects? If so, you’re aware of how important the proper lighting and exposure can be in photography.
Have you ever taken pictures that are so light or so dark that you can hardly make out the subjects? If so, you’re aware of how important the proper lighting and exposure can be in photography.
How the lighting of a scene affects
the exposure of the film is one of the most basic photography concepts. The
more light within the scene, the more the film will be exposed.
Conversely, the less light a scene has, the
less the film will be exposed.
While overexposed film turns out
pictures that are too bright,
underexposed film will be too dark, appearing “blacked-out.”
Understanding how to manipulate lighting will help a photographer properly
expose his film.
In any given scene a subject can be
fully lit with direct light, fully lit with indirect light or partially lit
with backlighting or ambient lighting. Any directly lit subject is relatively
easy to photograph, meaning that the film will be properly exposed and the
picture will “turn out.”
On the other hand, partially lit
subjects are a bit more elusive: generally, the lighting or film speed should
be manipulated to ensure the adequate level of exposure.
Learning how to alter the film
speeds and lighting in poorly lit scenes takes some effort. However, a
photographer can purchase a light meter, a tool that measures the amount
of light in a scene. Given this measurement, the photographer can choose the
appropriate film speed.
Composition and Camera Angles
Another basic principle of photography is composition, or the technique of setting up the subject within the camera’s frame. The proper composition of a shot is directly related to the angle at which the photographer takes the picture. With a particular camera angle and a planned composition, a photo can draw in the viewer’s eye, add meaning to the image or add a sense of movement and dynamism to the scene.
Another basic principle of photography is composition, or the technique of setting up the subject within the camera’s frame. The proper composition of a shot is directly related to the angle at which the photographer takes the picture. With a particular camera angle and a planned composition, a photo can draw in the viewer’s eye, add meaning to the image or add a sense of movement and dynamism to the scene.
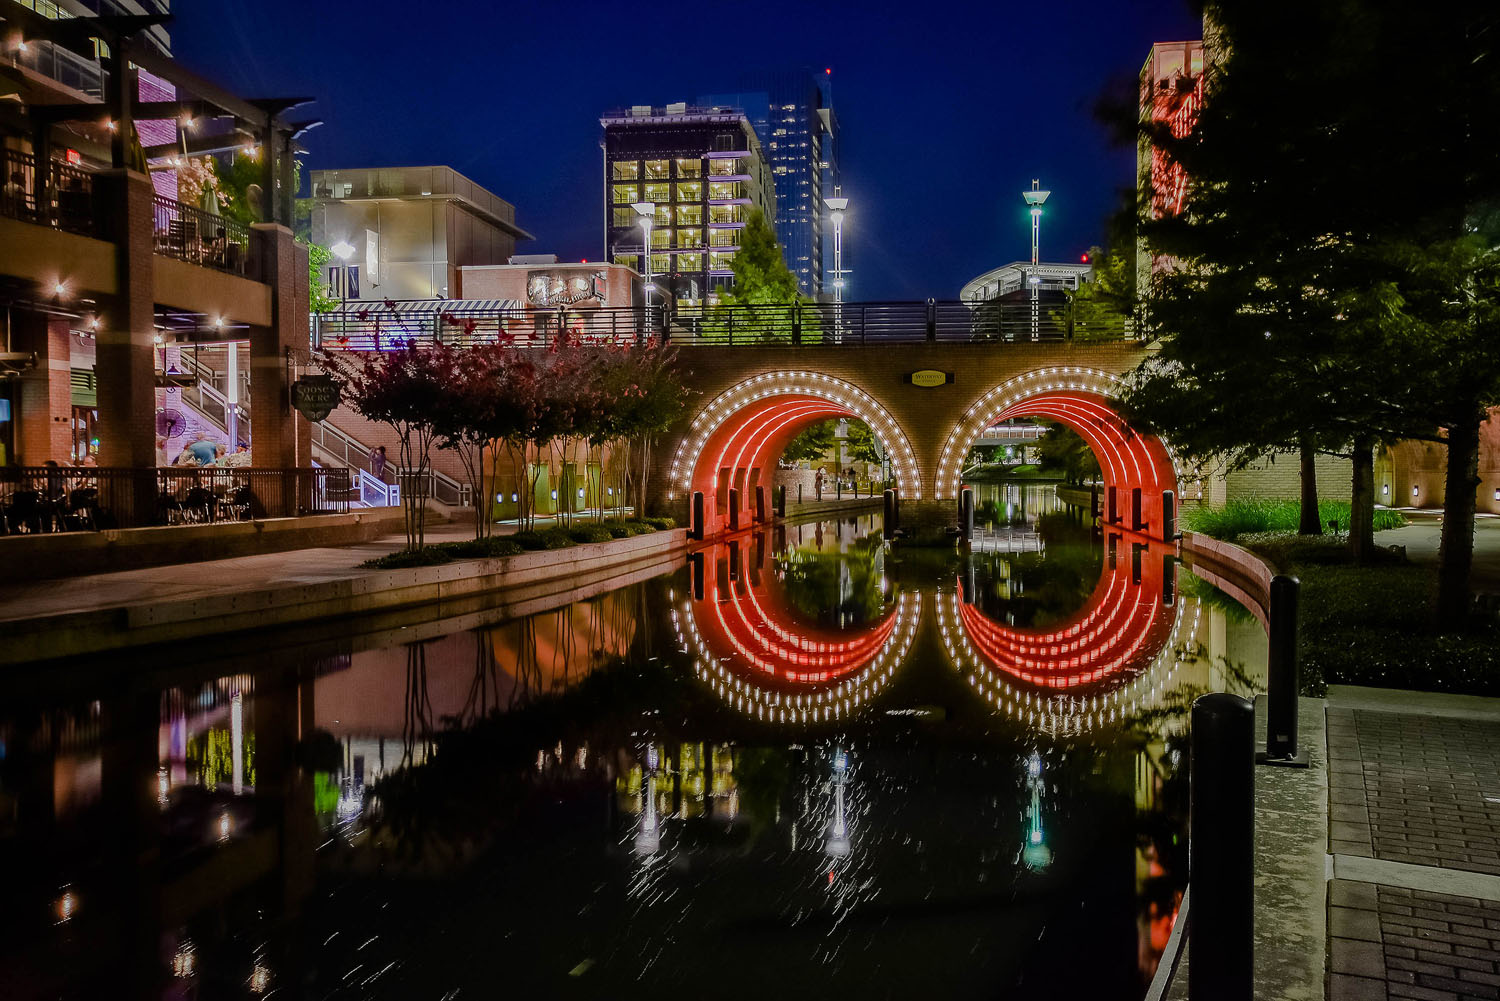
Don’t forget the Rule of Thirds!!
What would happen to this photo if we didn’t apply the Rule
of Thirds?
Rule of Thirds
by definition:
The rule states that an image should be imagined
as divided into nine equal parts by two equally-spaced horizontal lines and two
equally-spaced vertical lines, and that important compositional elements should
be placed along these lines or their intersections.[2] Proponents of the technique claim that aligning a subject with
these points creates more tension, energy and interest in the composition than
simply centering the subject would.
The main reason for observing the rule of thirds is to discourage
placement of the subject at the center, or prevent a horizon from appearing to
divide the picture in half.
If the photographer wants his viewer
to focus on a certain aspect of the shot, he can place the subject in a certain
area of the frame. For example, putting the subject higher in the frame gives
the subject an imposing presence on the viewer. On the other hand, placing the
image lower tends to make the subject more submissive and possibly more
mysterious to the critical viewer’s eye.
By drawing the viewer’s eye to a
particular part of a picture, the photographer also invests a particular
meaning of feeling to his shot. Depending on the subject photographed, its
placement within the frame can make it appear more mysterious, forceful,
compliant, or intriguing.
Another set of basic photography
concepts involves the skills used by a photographer to make an image appear
dynamic. For instance, a shot with the subject framed directly in the middle
can make the viewer feel as though he is falling into the subject.
An example of this would be a
picture of a person looking through a hollow log while the photographer is at
the other end of the log snapping a picture of the person’s face. In this shot,
the viewer’s vision moves through this tunnel, shooting immediately towards the
person’s face. While not as overtly dynamic as action shots, this sort of
compositional concept adds a subtle sense of movement to the picture.
More Advanced Photography Concepts
If you want to further expand your knowledge of photography concepts, start experimenting with some more advanced techniques, such as:
If you want to further expand your knowledge of photography concepts, start experimenting with some more advanced techniques, such as:
- aperture settings
- depth of field measurements
- focal lengths
- shutter speed settings.
Angle of View
Angle of View is the amount of a scene a photograph captures and can be
measured vertically, horizontally or diagonally. Also known as angle of
coverage or field of view, angle of view changes given the type of lens a
photographer uses to take
a picture.
While wide-angle lens tend to capture more of a scene than any other lenses, longer lenses generally get about two degrees of a scene within their angle of view.
The further away an image that a photographer is attempting to capture within their angle of view, the longer and more narrow the lens should be. For instance, a picture of the stars or far-off marine life would be taken with a longer, narrower lens than one that has an image with an angle of view that is twenty feet away. Similarly, if a photographer wants to include more or less light within an angle of view, they can use a petal or a hooded lens respectively.
Whether you are a novice or expert photographer, changing the angle of view of a scene can add a fresh, unique spin to a traditional picture. Rather than shooting a photo straight on, as is the traditional method, a lowered or slanted angle of view may give your pictures an unconventional flare.
Aperture
Aperture refers to the lens diaphragm on a camera that controls the amount
of light
that touches the film when the shutter
opens. Settings for an aperture opening are measured in f-numbers, also known
as the F-Stop. F-numbers are calculated by dividing the length of the lens’
diameter by the focal
length. Aperture settings are generally located or adjusted on the
outer edge of a camera’s
lens.
Larger aperture settings, ranging from around f3.0 to f5.5, allow more light to enter through the lens. Consequently, if a photographer sets his aperture to a higher number, a single object will become the photo’s central feature, significantly minimizing any figures in the pictures background. Larger apertures are commonly used for portraits or close-ups.
If a photographer is taking a picture that doesn’t require an extreme close-up nor a broad scope, an aperture setting from f8 to about f11 tends to yield well-defined images.

Comments
Post a Comment